Connecting your domain to your Google Workspace account will require some setup in your iwantmyname account and in your Google Workspace account.
Before you get started setting up Google Workspace, you will need to have already registered your domain name.
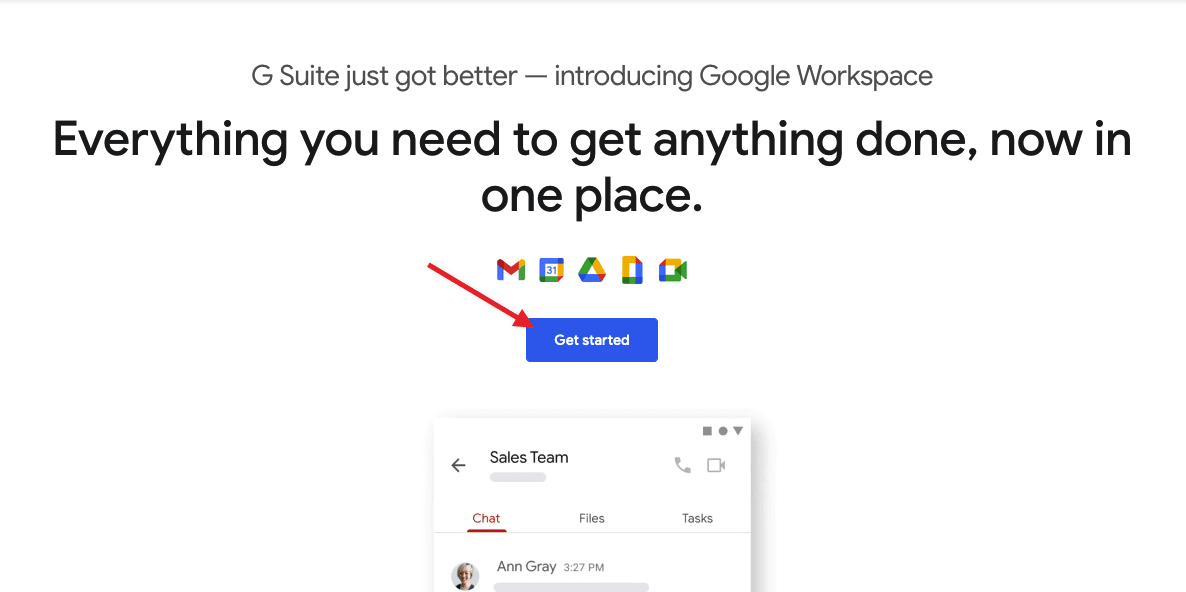
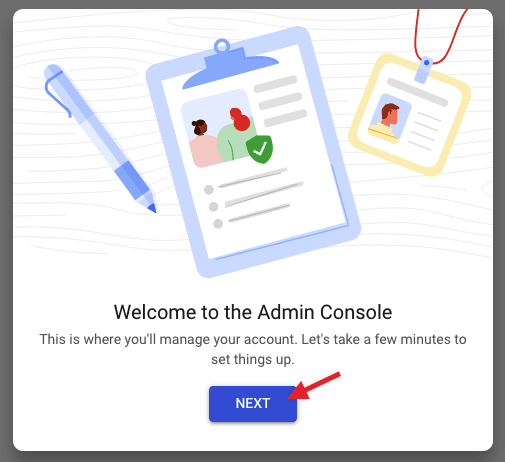
Login to your Google Workspace account and click Get Started.
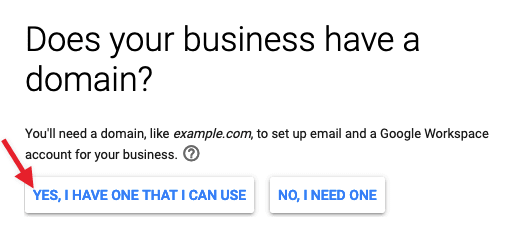
Fill out the required account holder information on the following two screens. Then, where it asks Does your business have a domain? click YES, I HAVE ONE THAT I CAN USE on the third screen.
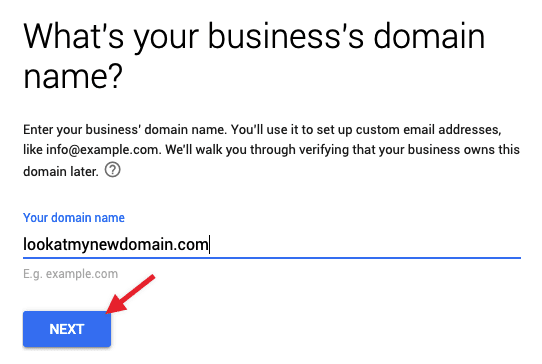
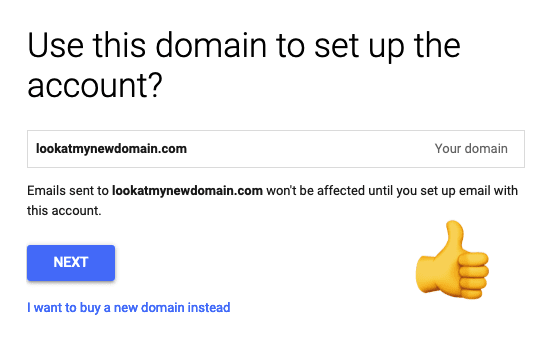
On the next screen, type or paste in your domain name, then click Next.
Confirm that the domain name you entered is correct. If it's not, change or correct it, then click Next.
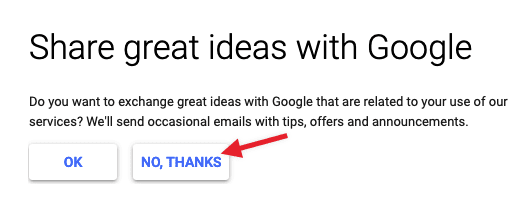
On the next screen, Google will offer to sign you up for emails that don't have anything to do with actually getting custom email accounts. You can say yes if you want to, but we clicked NO, THANKS, since we already get more than enough email.
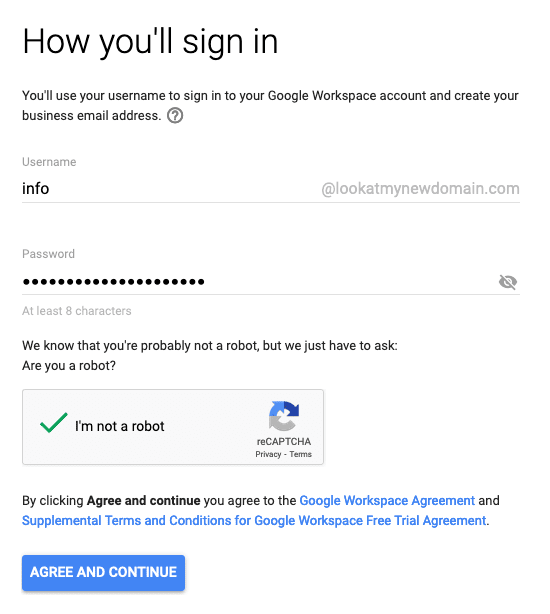
On the next screen the actual setup begins, so read everything carefully. You will add the Username you want, which is the first email address you will set up with your domain name. You can use info@, hello@ yourname@ or whatever you like. Just be very careful to spell everything right, and be sure to save the password you use in a safe place.
When that's done to your satisfaction, check the captcha box ("I am not a robot"), then once you've read and confirmed Google's Workspace Agreement and Terms and Conditions, click AGREE AND CONTINUE.
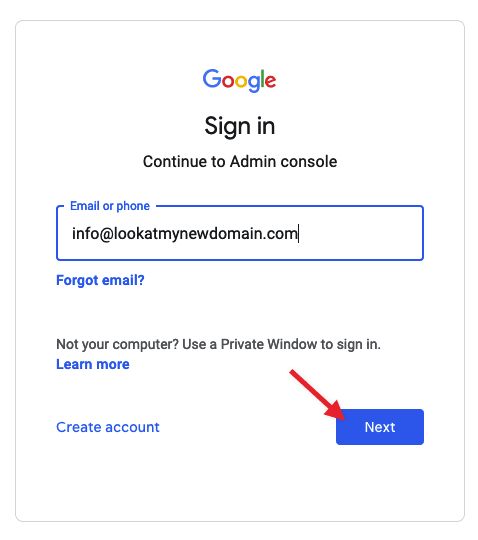
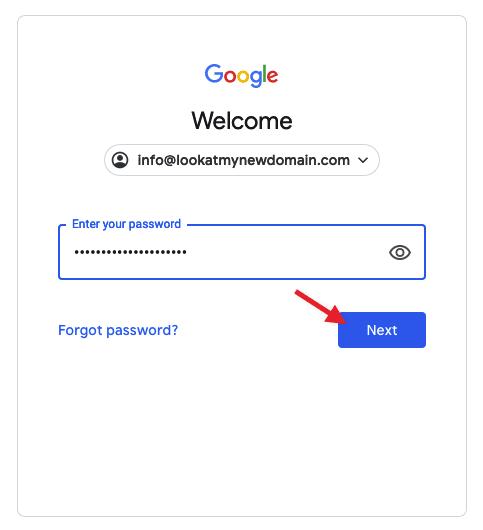
The next screen brings you to your account login. Your new custom email address that you just set up on the previous screen should already appear, but if not, enter it, then click Next.
On the next page you will enter that password you stored in a safe place, then click Next again.
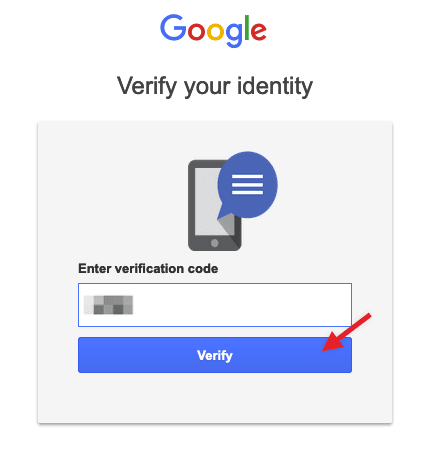
On the next screen you will be prompted to provide a contact method to enable Google to verify your identity as the account holder. We chose to get a text message. If you choose that option be sure to provide a mobile phone number (we blurred out the Phone number field for privacy). When you have entered the information required, click Get code.

The code should be sent to your phone pretty much immediately, so when you receive it, enter it into the Enter verification code field (we blurred out our code for privacy), then click Verify.
If the code does not arrive, you may have to go back in the setup process to check the phone number, try a different method, or contact Google Workspace support. We cannot help you with the verification.
Once you verify, the next "Welcome" screen is another Terms and Conditions agreement page. Give it a read, the click Accept.
The next screen is where you start setting up payment. If you have a promotion code you can enter it there. (We do not have any promotion codes.) Otherwise, click Next. Google Workspace does have a 14-day free trial, but you have to provide billing details in order to set up your account.
If you decide not to proceed past your free trial period, you can cancel your Google Workspace subscription when logged in to your Admin Console, under Subscriptions. (Link to login to your Admin Console is in your welcome email.)
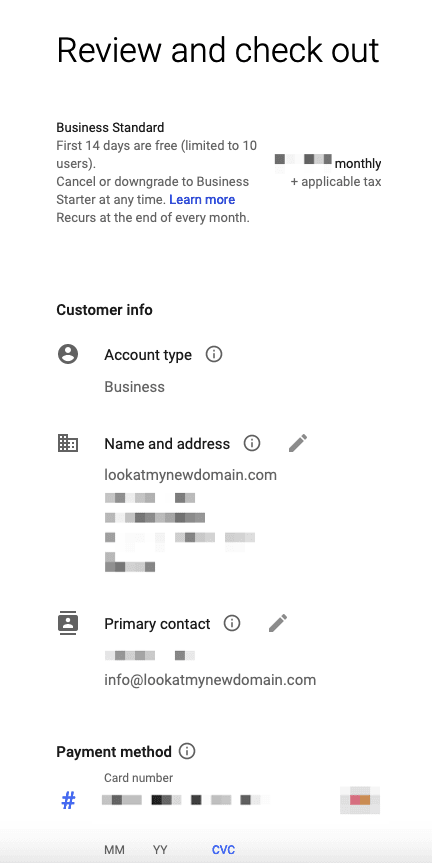
On the next setup screen you will finish filling out your account details with address, credit card information, etc. Your selected account type, etc. may be slightly different than our example. Once you complete that, click Next.
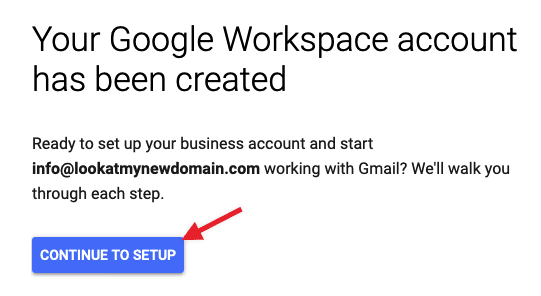
Success! The next screen will confirm your Google Workspace account setup, and now you will get started connecting your domain name to Google Workspace along with any remaining details.
You will also be sent two emails to the email address you specified right at the beginning, not to the one you created: "Welcome to Google Workspace" and "Your Google Workspace billing information was received".
Click CONTINUE TO SETUP to proceed.
There isn't anything to do on the Admin Console Welcome screen, so just click Next.
Click the ACTIVATE link to begin setting up Workspace services.

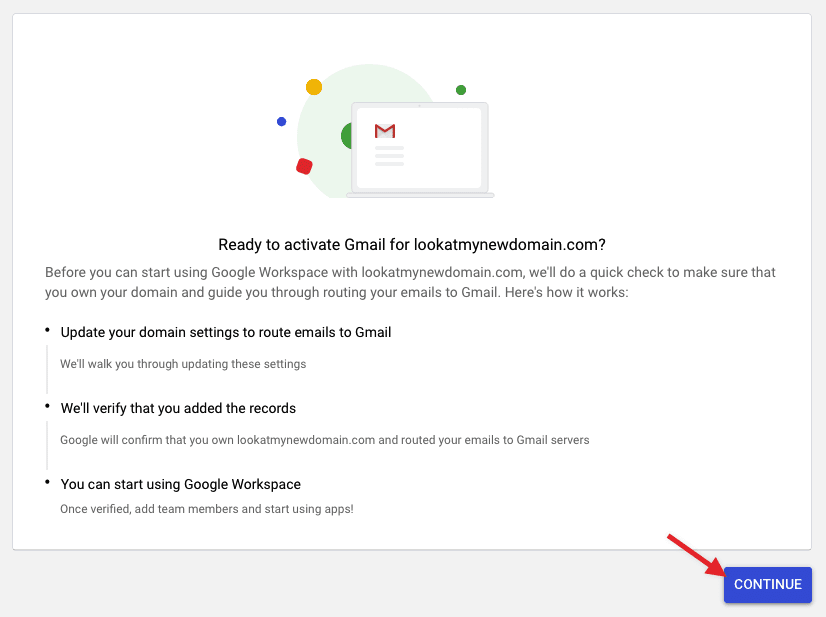
The next screen is just information about the setup you will be getting instructions for. Give it a read, then click CONTINUE.
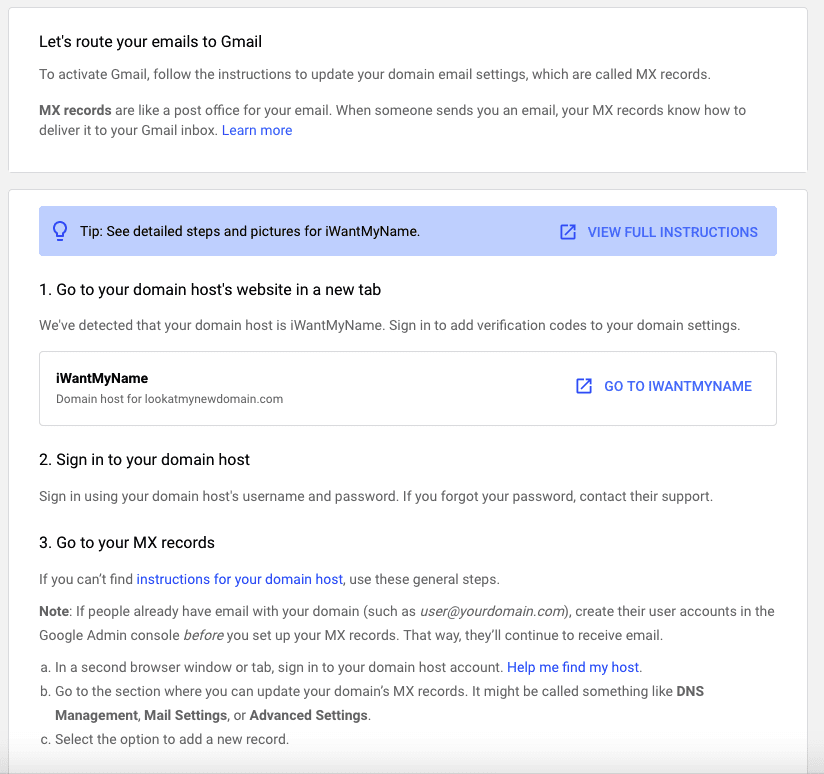
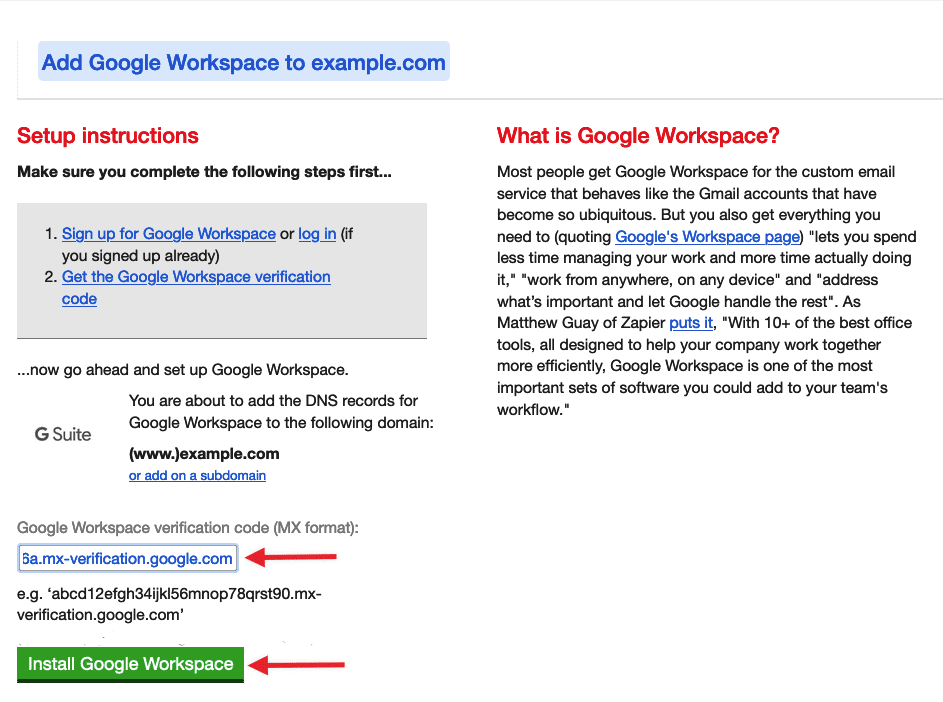
The next screen provides the information you will need to connect your Google Workspace account to your domain name at iwantmyname to get your new email working, among other services.
You don't need to add all the records shown. We have an install for that. You will need to open a browser tab or window and login to your iwantmyname account.
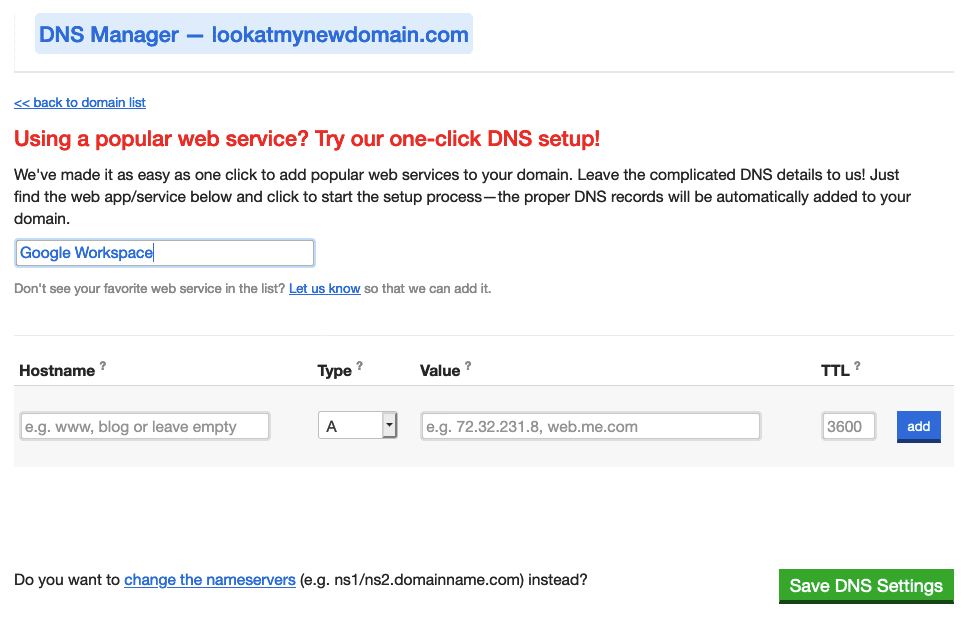
In your iwantmyname account, click manage DNS records on the screen for the domain you are setting up. On the dashboard screen, type Google Workspace into the search field, then press your Enter key to go to the Marketplace install page.
Go back to your Google Workspace setup screen and scroll down to Step 5: Get your verification code. Click on COPY.

Go back to the iwantmyname install screen. Paste the code in the verification code field, then click Install Google Workspace.
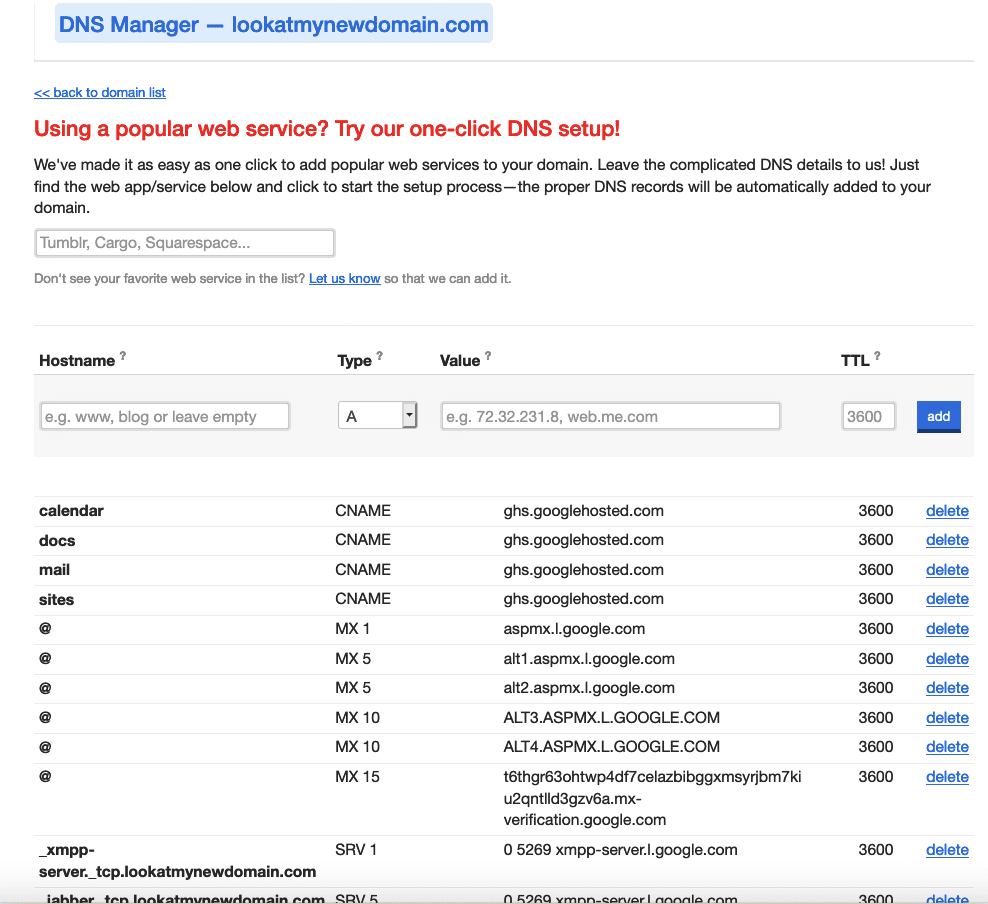
The screen will refresh to show a Finished! confirmation. If you look in your dashboard you will see a list of DNS records to connect all the Google Workspace services to your domain.
Go back to Google Workspace and click ACTIVATE GMAIL at the bottom of the screen. The new DNS records you added will have started to propagate, but the process is not instantaneous. If activation does not work right away, wait an hour or two, then try it again.
Once activation is confirmed, you will have the option of creating more users / email addresses / etc. or to skip that step.
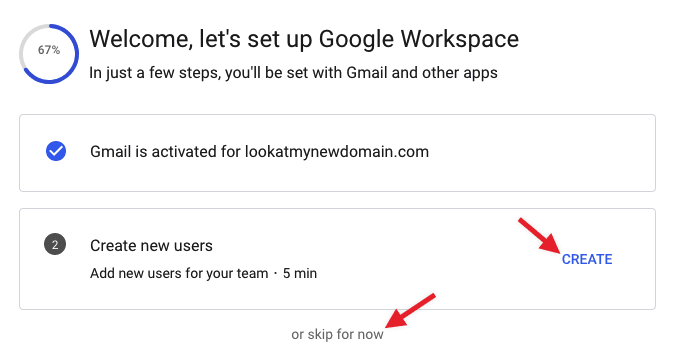
All the setup on the iwantmyname dashboard side is complete, so we will click skip for now. The next page presents a list of options for setup that you can do next if you like. (Creating new users is one of those if you want to go back and do that.)
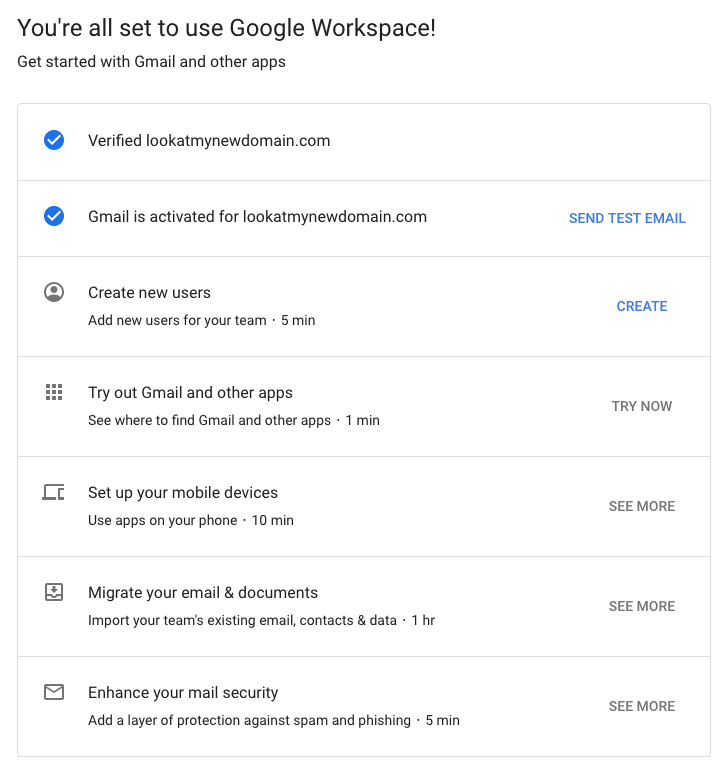
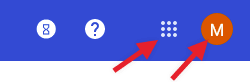
You are all done! To access your Google account or other Google Workspace services, you can click on the square grid of dots at the top right of the screen, or on your account name initial to access those menus.